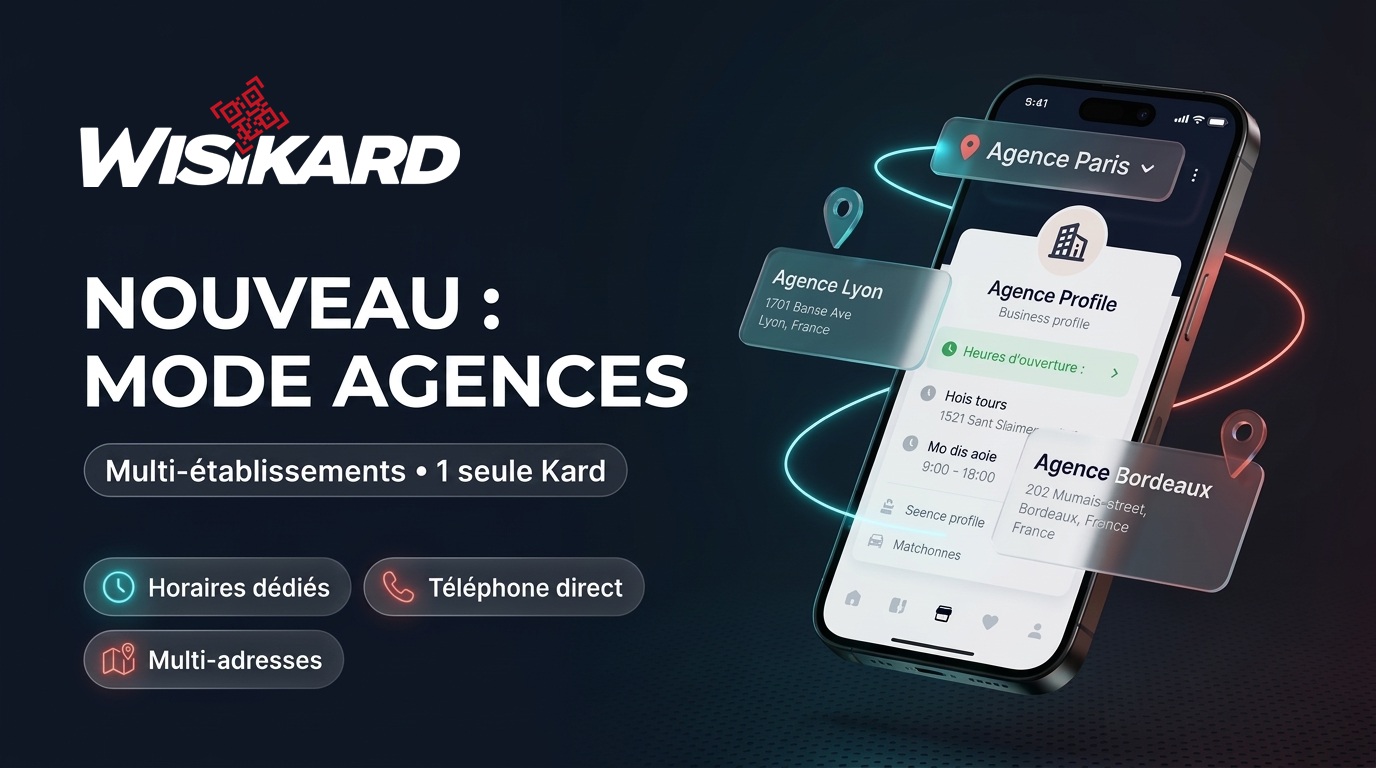
A business isn’t always limited to a single location. A driving school has multiple offices, a real estate network opens branches in different cities, and a craftsman has both a workshop and a showroom. Until now, a Wisikard Kard displayed only a single set of contact details: a phone number, an address, and hours of operation.
With the Branch ModeNow, each location can have its own information while remaining linked to your main Kard. Your visitors will find the right phone number, address, and hours—without you having to create and maintain a separate card for each location.
What each location can customize
For each location, you can enter:
- Hours of Operation, day by day, with a lunch break if needed;
- The phone number of the branch;
- The address of the location;
- Employees who work there.
Your logo, colors, template, social media accounts, and content remain consistent across all locations: your brand image stays consistent everywhere.
A field left blank will simply use the values from your main Kard. If all your branches share a switchboard, simply enter their addresses and hours. Similarly, a branch without its own hours will display those of the main Kard.
Your main Kard becomes Branch 1
Nothing changes for your current Kard: it automatically becomes the first branch, and its information remains exactly as you’ve already entered it. You can simply give it a name, such as “Paris Headquarters” or “Downtown Branch.”
By default, Branch 1 is displayed when a visitor opens your Kard.
An agency selector, if you’d like
From your dashboard, an option lets you display a Branch selector at the top of your Kard. Your visitors can then switch from one location to another with a single tap, and the displayed contact information updates instantly.
Prefer to keep your Kard simple? Leave the selector turned off. Each location still has its own link, which you can share, convert to a QR code, or display at the respective location.
Employees assigned to their respective locations
When you add an employee, Wisikard now asks you which location to assign them to. This choice has two practical effects:
- The Employee’s Personal Kard displays the address and hours of their branch. If the employee doesn’t have a direct phone number, the branch’s number appears instead;
- If you display your team on the Kard, each location will show their own staff.
You can change an employee’s branch at any time from their profile, for example, in the event of a transfer.
How can you use it?
Branch mode is designed for all businesses that serve customers at multiple locations:
- the driving schools that have multiple offices;
- the real estate agencies located in multiple cities or neighborhoods;
- retail businesses and point-of-sale networks;
- the artisans that distinguish their workshop from their showroom.
How do you activate branch mode?
- Log in to your Wisikard account and open the menu Branches.
- Purchase a branch listing, then click on Add a branch.
- Enter the branch’s name, phone number, address, and hours.
- Assign your employees to their respective locations from the menu Employees.
- Enable the branch selector if you’d like to offer this feature to your visitors.
Do you have a question about Branch Mode or how to organize your locations? Contact usWe’ll help you set it up.